Cards Hardware Installation Guide
Digium PRI cards
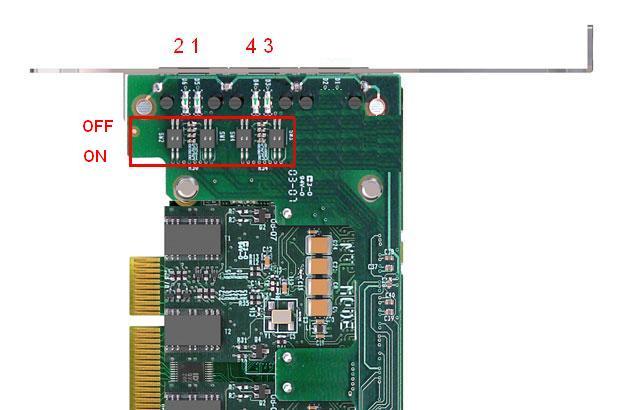
Depending on the region of the world and the specific task the PRI card will be used for, the "E1/T1" jumper switch should be changed.- Connection to a PRA
- Europe: ON (E1)
- USA: OFF (T1)
- Connection to a Channel bank: OFF (T1)
Digium FXS cards
-
 Connect the Molex cable (1)
- Plug the card into a free PCI / PCI-X slot
Sangoma cards
Sangoma cards combinations
Please refer to this document to know which combinations of cards are allowed.Sangoma PRI cards
4 kinds of Sangoma PRI cards exists:- A101 - 1PRI
- A102 - 2PRI
- A104 - 4PRI
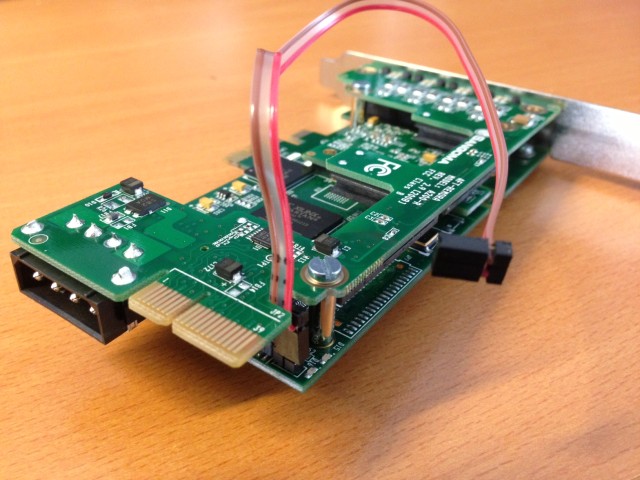
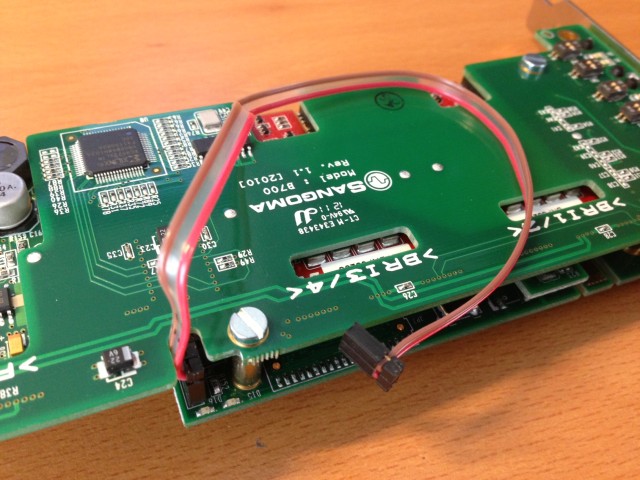
- If the PRI card is used in combination with a FXS card, connect a clock sync cable between the 2 cards with the red cable on the opposite side of the slot (otherwise the driver won't start)
- Plug the card into a free PCI-X slot
Sangoma 4FXS cards
- Plug the 2 FXS modules into the card
- Connect the Molex cable (1)
- If a PRI or BRI-FXS card is used in combination with the FXS card, connect a clock sync cable between the 2 cards with the red cable on the opposite side of the slot (otherwise the driver won't start)
- Plug the card into a free PCI-X slot
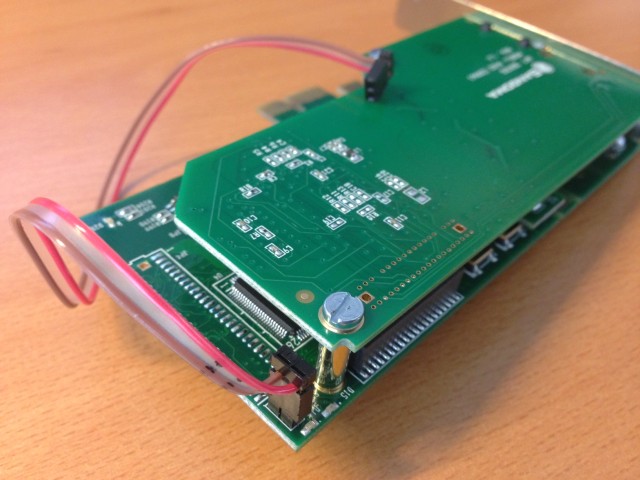
Sangoma BRI-FXS hybrid cards (B700) and Sangoma BRI cards (B500)
Sangoma B700 cards can contain:- 1 or 2 x 2BRI module(s)
- 2FXS module (optional)
- 1 or 2 x 2BRI module(s)
1. Card overview
Upside view :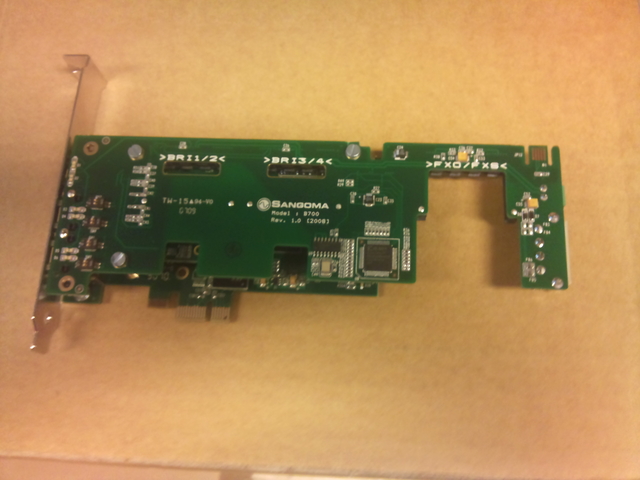 Front view :
 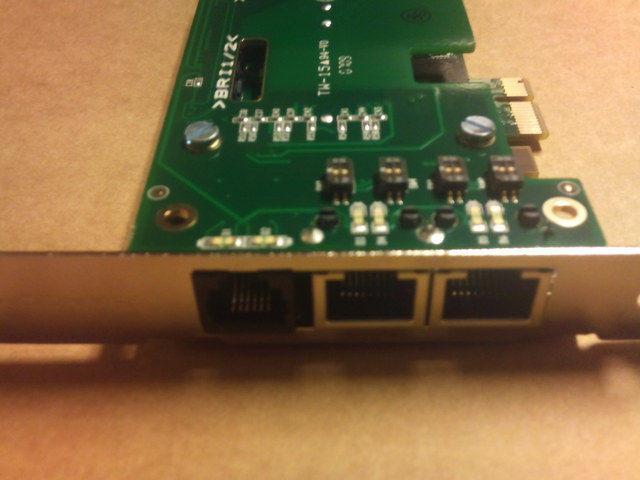 Rear view :
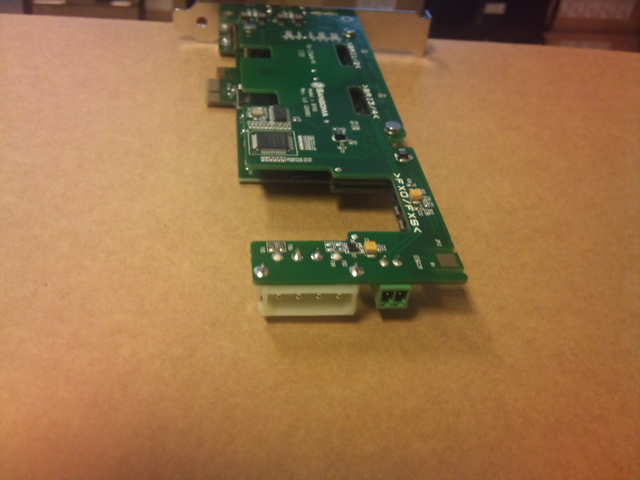
2. Modules overview
FXS Module: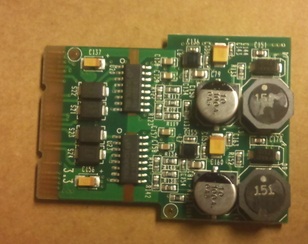 BRI modules can be used in TE or NT mode. Changing modes does not require jumpers, simply invert the colour-coded module.
The green side of the module is NT mode. The red side of the module is TE mode. TE is used to connect to provider network and NT is used to connect to another PBX or ISDN phones.
Module BRI NT mode:
BRI modules can be used in TE or NT mode. Changing modes does not require jumpers, simply invert the colour-coded module.
The green side of the module is NT mode. The red side of the module is TE mode. TE is used to connect to provider network and NT is used to connect to another PBX or ISDN phones.
Module BRI NT mode: 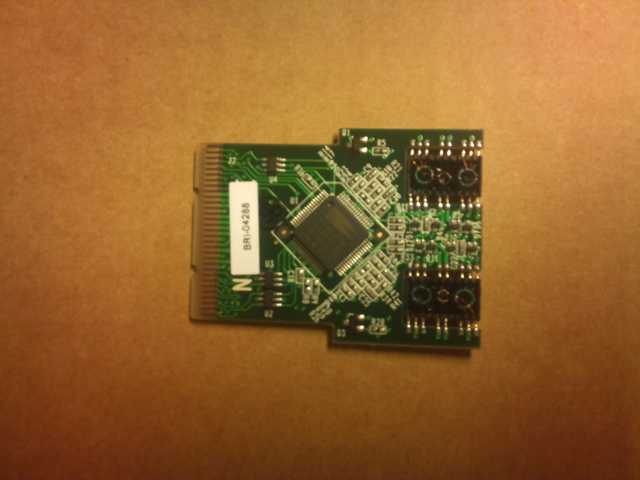 Module BRI TE mode:
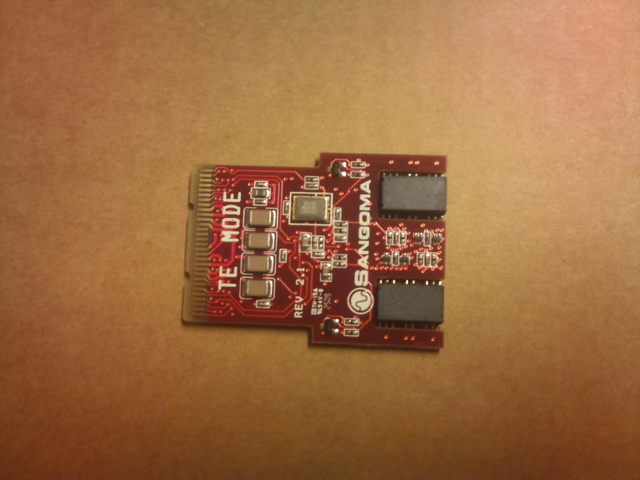
3. Inserting the modules into the Card
When running in NT mode, ensure both termination resistors SW2 that correspond to the module are set to ON.When running in TE mode, ensure both termination resistors that correspond to the module are set to OFF.
Default the resistors settings are set to OFF which corresponds with TE mode. Resistors:
2BRI (4BRI) TE mode with or without 2FXS module
Step 1 - modules 2BRI & 2FXS prepared: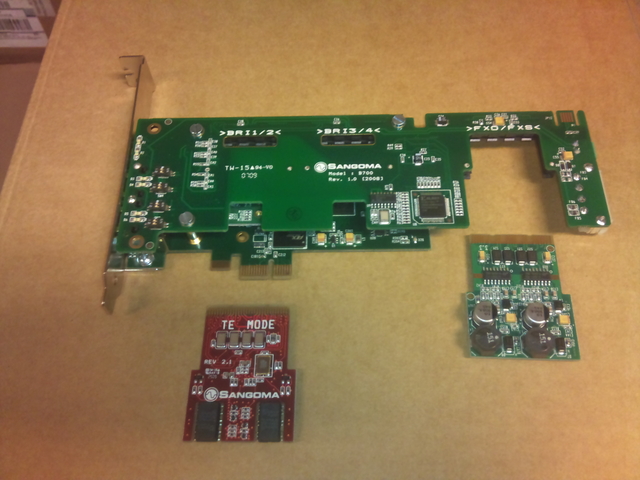 Step 2 - modules 2BRI & 2FXS inserted into the card:
 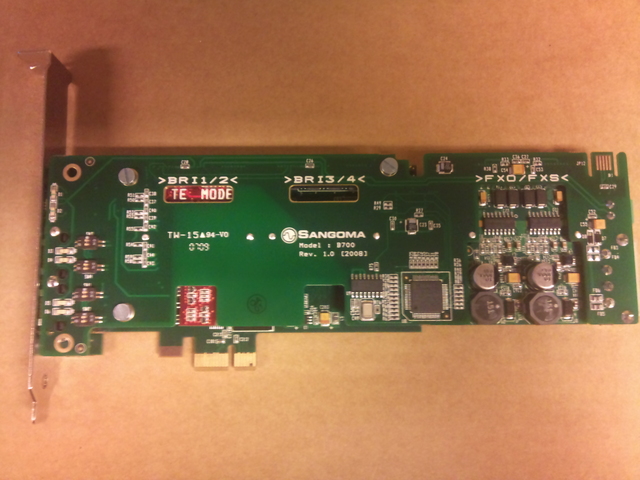 For a 4 BRI config, just add a second 2BRI module, like that:
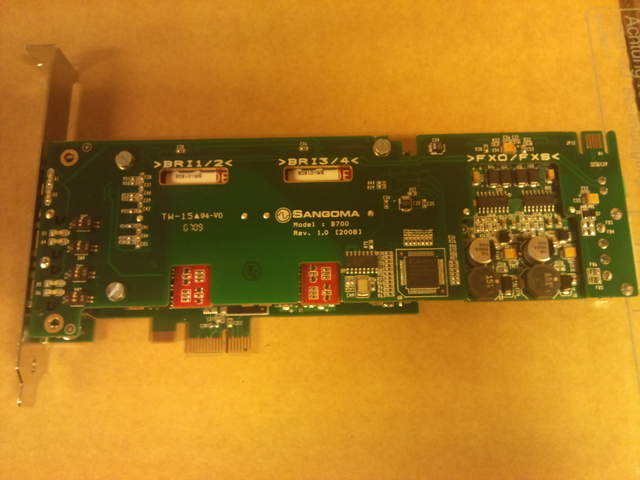
2BRI (4BRI) NT mode with or without 2FXS module
Step 1 - modules 2BRI & 2 FXS prepared: Step 2 - modules 2BRI & 2 FXS inserted into the card:
 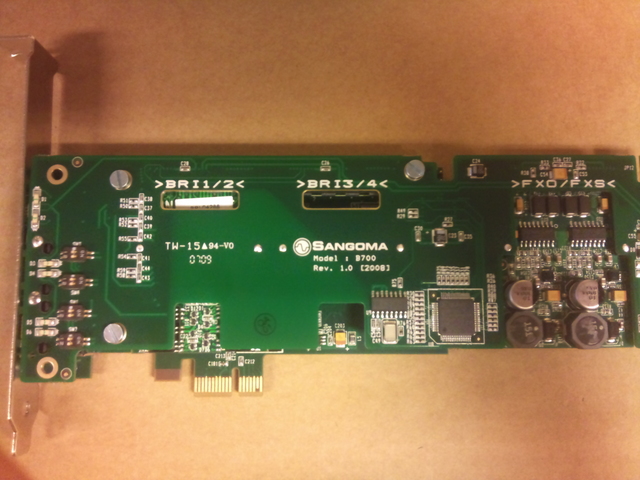 For a 4 BRI config, just add a second 2BRI module.
4. Connecting the Clock sync cable
5. Inserting the card into the server
Before Inserting a B700 card into the server, connect a molex cable to the card. (1)There is no molex connector on B500 card. Molex FXS Module:
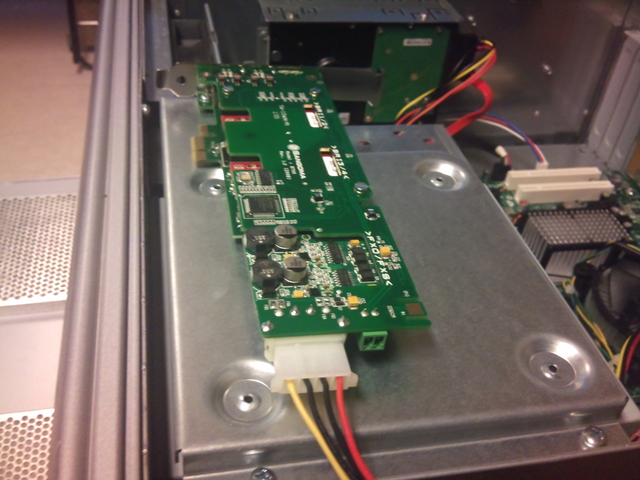 After plugging the molex cable (2) you can insert the card into the server. The card needs to be inserted into a PCI Express slot.
PCI Express:
After plugging the molex cable (2) you can insert the card into the server. The card needs to be inserted into a PCI Express slot.
PCI Express: 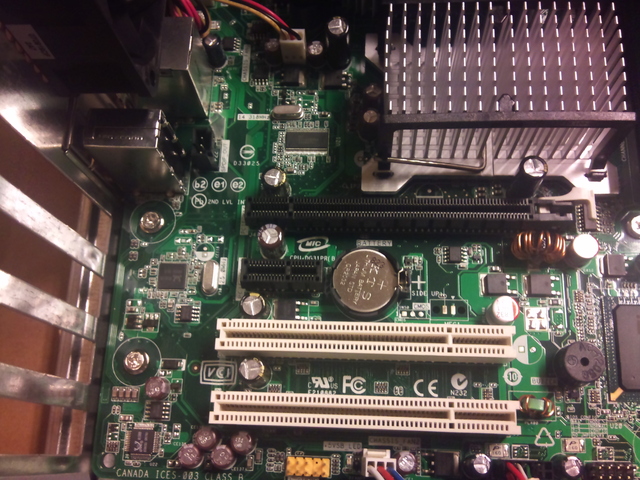
(1) FXS cards draw more power than a standard PCI or PCI-e slot can provide. Therefore an additional
Copyright © Escaux SA