Administrator Guide: HylaFSP 4.0 Fax Client
Introduction
The HylaFSP is a client application that runs on your personal computer and is compatible with the Escaux FAX Server. It allows you to send fax documents from your computer.Table of Contents
FAX Server and HylaFSP
The fax server is a piece of software running on the SOP. It is equivalent of having a physical fax machine. HylaFSP client connects to the fax server on the sop and transmits the documents. The fax server is then responsible to send them to the given external fax number. The local fax extension is a dedicated extension used for sending faxes. You should have at least one, but its also common to have multiple local fax extensions, for example if you want one per person or one per department. To proceed with the installation you will need to have the HylaFSP installer. But also a HylaFSP license is needed to use the fax client. For the configuration part you will need to have configured the ESCAUX FAX server.List of features
- Seamless integration with Microsoft's user-friendly fax wizard
- Fax from any application you can print from
- Design and use Microsoft coverpages
- Receive notification on fax success or failure
Requirements
- Your ESCAUX FAX server should already be installed and configured.
- At least one local fax extension configured.
- A computer under Vista Business & Ultimate, Windows 7 in 32-bit and 64-bit modes that can contact your SOP. Beware that Home versions of the Windows operating system are not supported.
- In order to be able to use HylaFSP, your windows version should support 'Windows Fax and Scan'. Go to "Windows Fax and Scan" via Control Panel > Programs and Features > "Turn Windows Features on or off" and activate this option. If you do not see it, HylaFSP will not run.
- Access to activate.ifax.com on port 80 to register the product.
Limitation
- Email configuration for notifications are ignored in HylaFSP, they should be set in local fax extension in the SMP.
License
A license is required to register this product. Escaux should have given you a serial code that allows to register and activate your product.Firewall
Warning: Can't find topic EscauxCustomerDocs.HylaFspConnectivityManual install of HylaFSP client
The HylaFSP installation is explained in this section. Please follow the steps in the same order as their are indicated down here. When the steps in this section are done you will be able to send faxes using HylaFSP.Installation
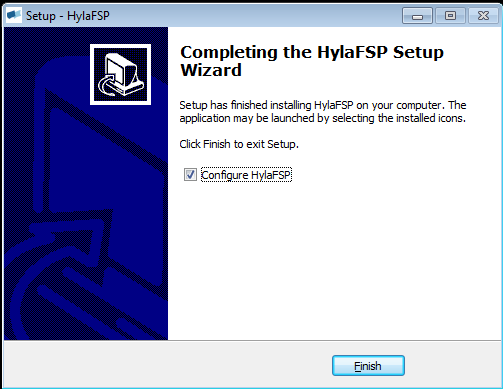
Download HylaFSP 32bit from here. Download HylaFSP 64bit from here. User Account Control (UAC) prompts may appear, you should always allow HylaFSP to make changes to the computer.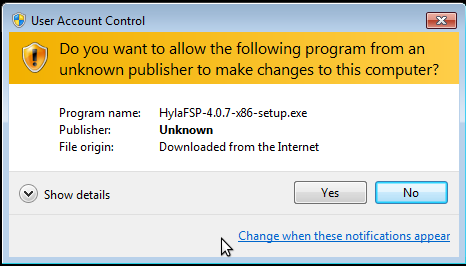 When the installation wizard reaches the end, it will ask you if you want to configure HylaFSP. Be sure that this check-box is ticked.
Configuration
When the installation wizard closes you should see the configuration window of HylaFSP. On the Server tab you should configure: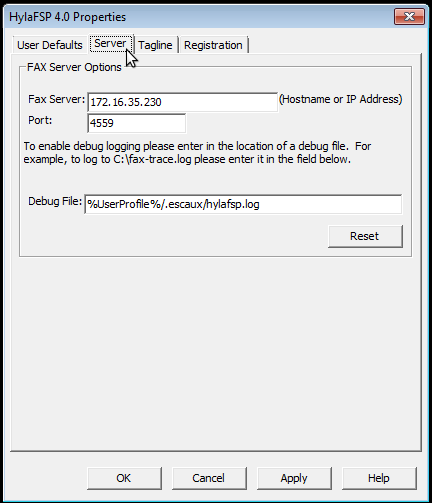
- Server: This should be the IP of the SOP where the fax server is running. Ex: '172.16.35.230' without the quotes.
- Port: '4559' without the quotes.
- Optionally you can also define the path of the log file.
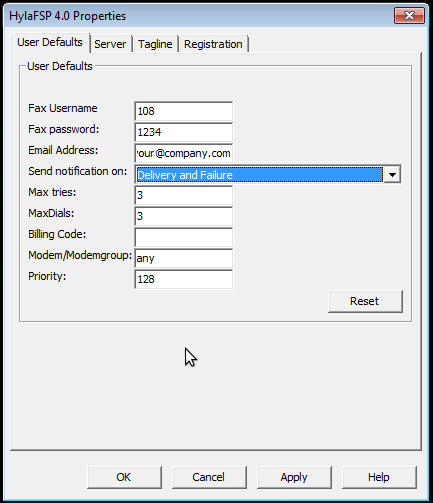
- Fax Username: this should be your local fax extension extension. Ex: '108' without the quotes.
- Fax Password: this should be your local fax extension pincode. Ex : '1234'' without the quotes.
- Send notification on: this should be set to 'Delivery and Failure'.
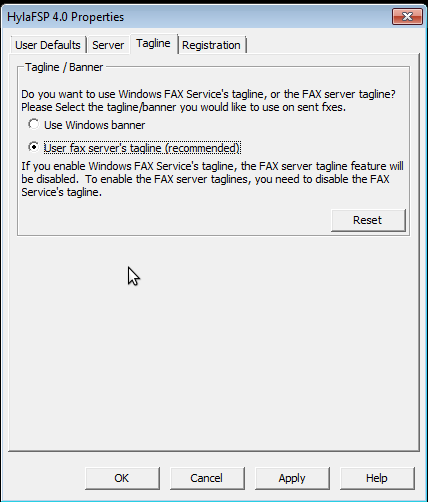
- Tagline / Banner: "User fax server's tagline (recommended)" should be selected.
Registration
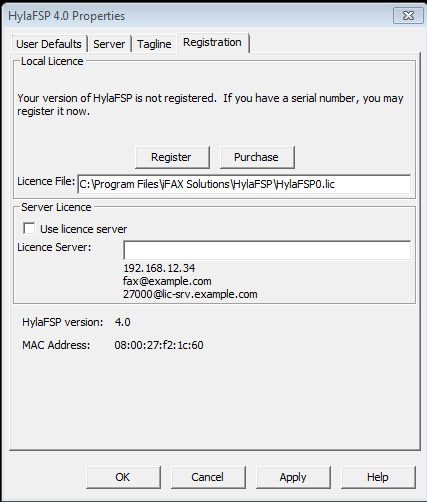 Click on register.
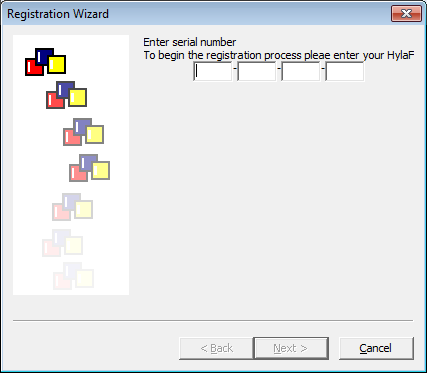 Enter you license key. Click on next.
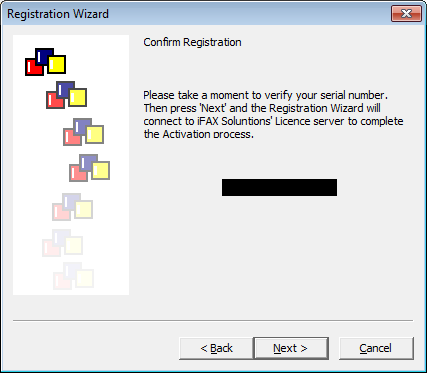 Confirm. Click on next. HylaFSP will now try to register.
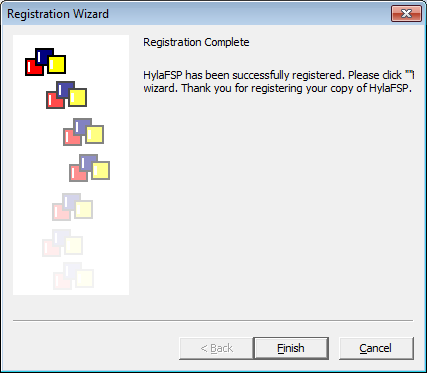 Click on Finsh to finish the registration.
Restart
Restart your Computer.First Run
The first time you will try to print something in order to send a fax the following screen may appear on Windows 7.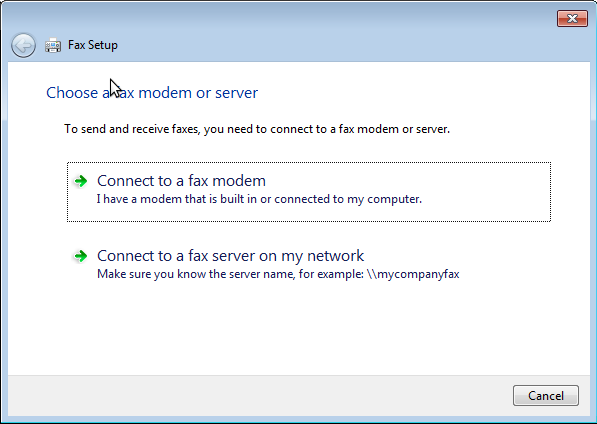 Click on 'Connect to a fax modem'.
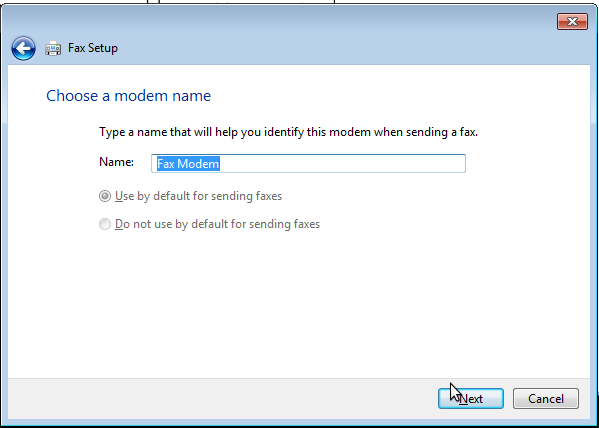 Click on 'Next'.
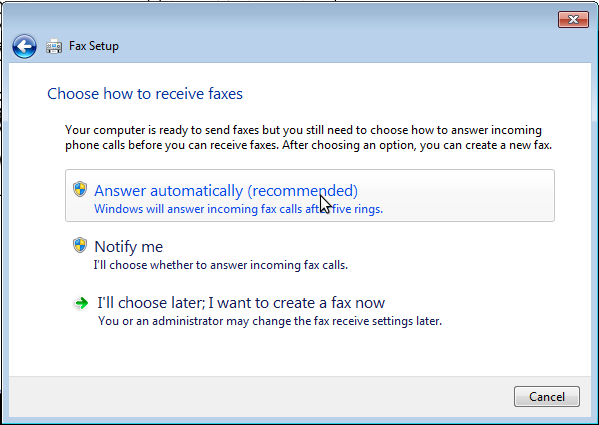 Click on "I'll choose later; I want to create a fax now".
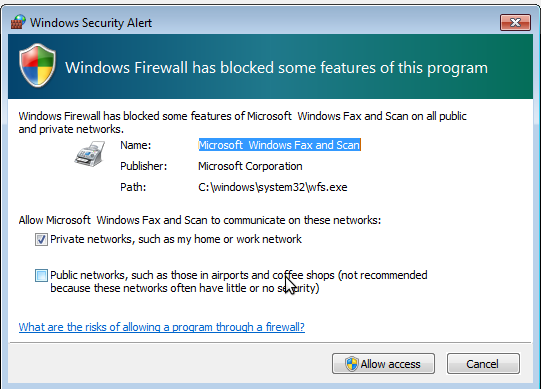 A firewall notification might appear. Please click on allow access.
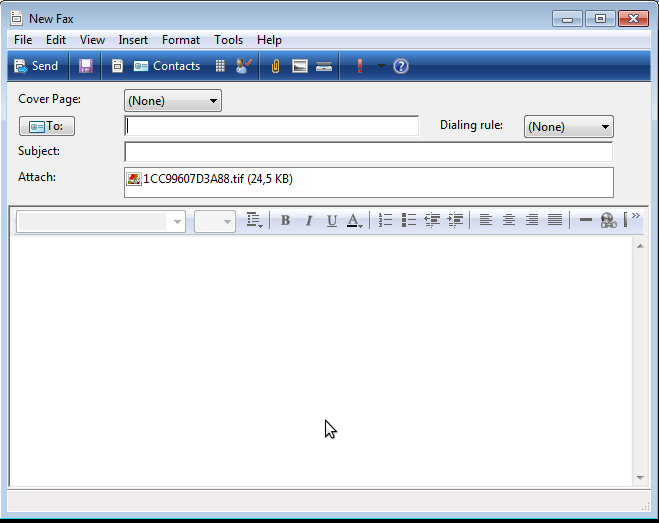
The New Fax Window will show up. To send a fax, complete the destination number and click on 'Send'.
A firewall notification might appear. Please click on allow access.
The New Fax Window will show up. To send a fax, complete the destination number and click on 'Send'.
Silent install of HylaFSP client
Alternatively you can install this software silently. For this you will need the HylaFSP installer as well to generate some configuration files. This procedure does not include registration of the product.HylaFSP.reg
Create a file HylaFSP.reg, and copy the contents below to the file. Here you will need to change the ServerName field. Change it to the IP of the SOP where the fax server is running.Windows Registry Editor Version 5.00 [HKEY_LOCAL_MACHINE\SOFTWARE\Microsoft\Fax\Device Providers\HylaFSP\0] "ServerName"="172.16.35.230" "ServerPort"=dword:000011cf "LicenceFile"="C:\\Program Files\\iFAX Solutions\\HylaFSP\\HylaFSP0.lic" "ServedLicence"=dword:00000000
HylaFSP.ini
Create a file HylaFSP.ini, and copy the contents below to the file. In this file you will need to change the login field, the password field and the email field. The login field should be the extension of the local fax extension, the password should be the pincode of the local fax extension, the email should be the email address associated with the local fax extension.[User] login=108 password=1234 email=gbo@escaux.com jobtag=HylaFSP Job modem=any notify=1 tries=3 dials=12 priority=127
Deploy script
Below is an example of a batch script that installs and configures the HylaFSP client on a machine silently. This script should be executed with elevated rights. The paths to the files in the batch script should be adapted to your needs. If you copy the contents below to a file (Ex: deploy.bat), and then execute it, it will install HylaFSP client and configure it silently."C:\Users\Username\Desktop\HylaFSP-4.0.7-x86-setup.exe" /verysilent regedit /s /y "C:\Users\Username\Desktop\HylaFSP.reg" copy "C:\Users\Username\Desktop\HylaFSP.ini" "C:\Program Files\iFAX Solutions\HylaFSP\config\__DEFAULT__\HylaFSP.ini" @REM Stopping FAX service net stop fax @REM start the fax service again net start fax
Cover pages
HylaFSP allows to create cover pages. You can create and set a new cover page by opening the fax configuration window.- Click on Tools then on cover pages.
- Click on new. Draw your new cover page. Or you can also copy an existing fax cover.
- Save it and close the window.
- Close the cover page window.
Service Assurance
User acceptance tests
This section provides a list of functional test which can be executed in order to verify the installation of the FAX server. Define the test objectives, and select the tests or part of the tests relevant in your usage context. Starting point:- You have installed and configured Fax Server on the SOP
- You have installed and configured the HylaFSP client on your computer.
- You have configured HylaFSP with a local fax extension able to send external faxes.
- An external fax machine.
Send a fax by printing a document.
- Open a PDF document.
- Print the document, be sure to select the Fax printer.
- Fill the number of the external fax machine.
- Check at your external fax machine if your document arrived.
Debug
You can create log files to help debug the fax transmission between the HylaFSP client and the Escaux Fax Server. To enable the log :- Open the the configuration screen of HylaFSP
- Select the 'Server' tab
- In the Debug File field you should specify your log file path. This path should be correct and writable.
Copyright © Escaux SA